Themes look their best when every post has a featured image. Default Featured Image fills the gap: wherever a post has no featured image of its own, your chosen fallback appears instead, in blog lists, single posts, related-post widgets and social previews that use the featured image.
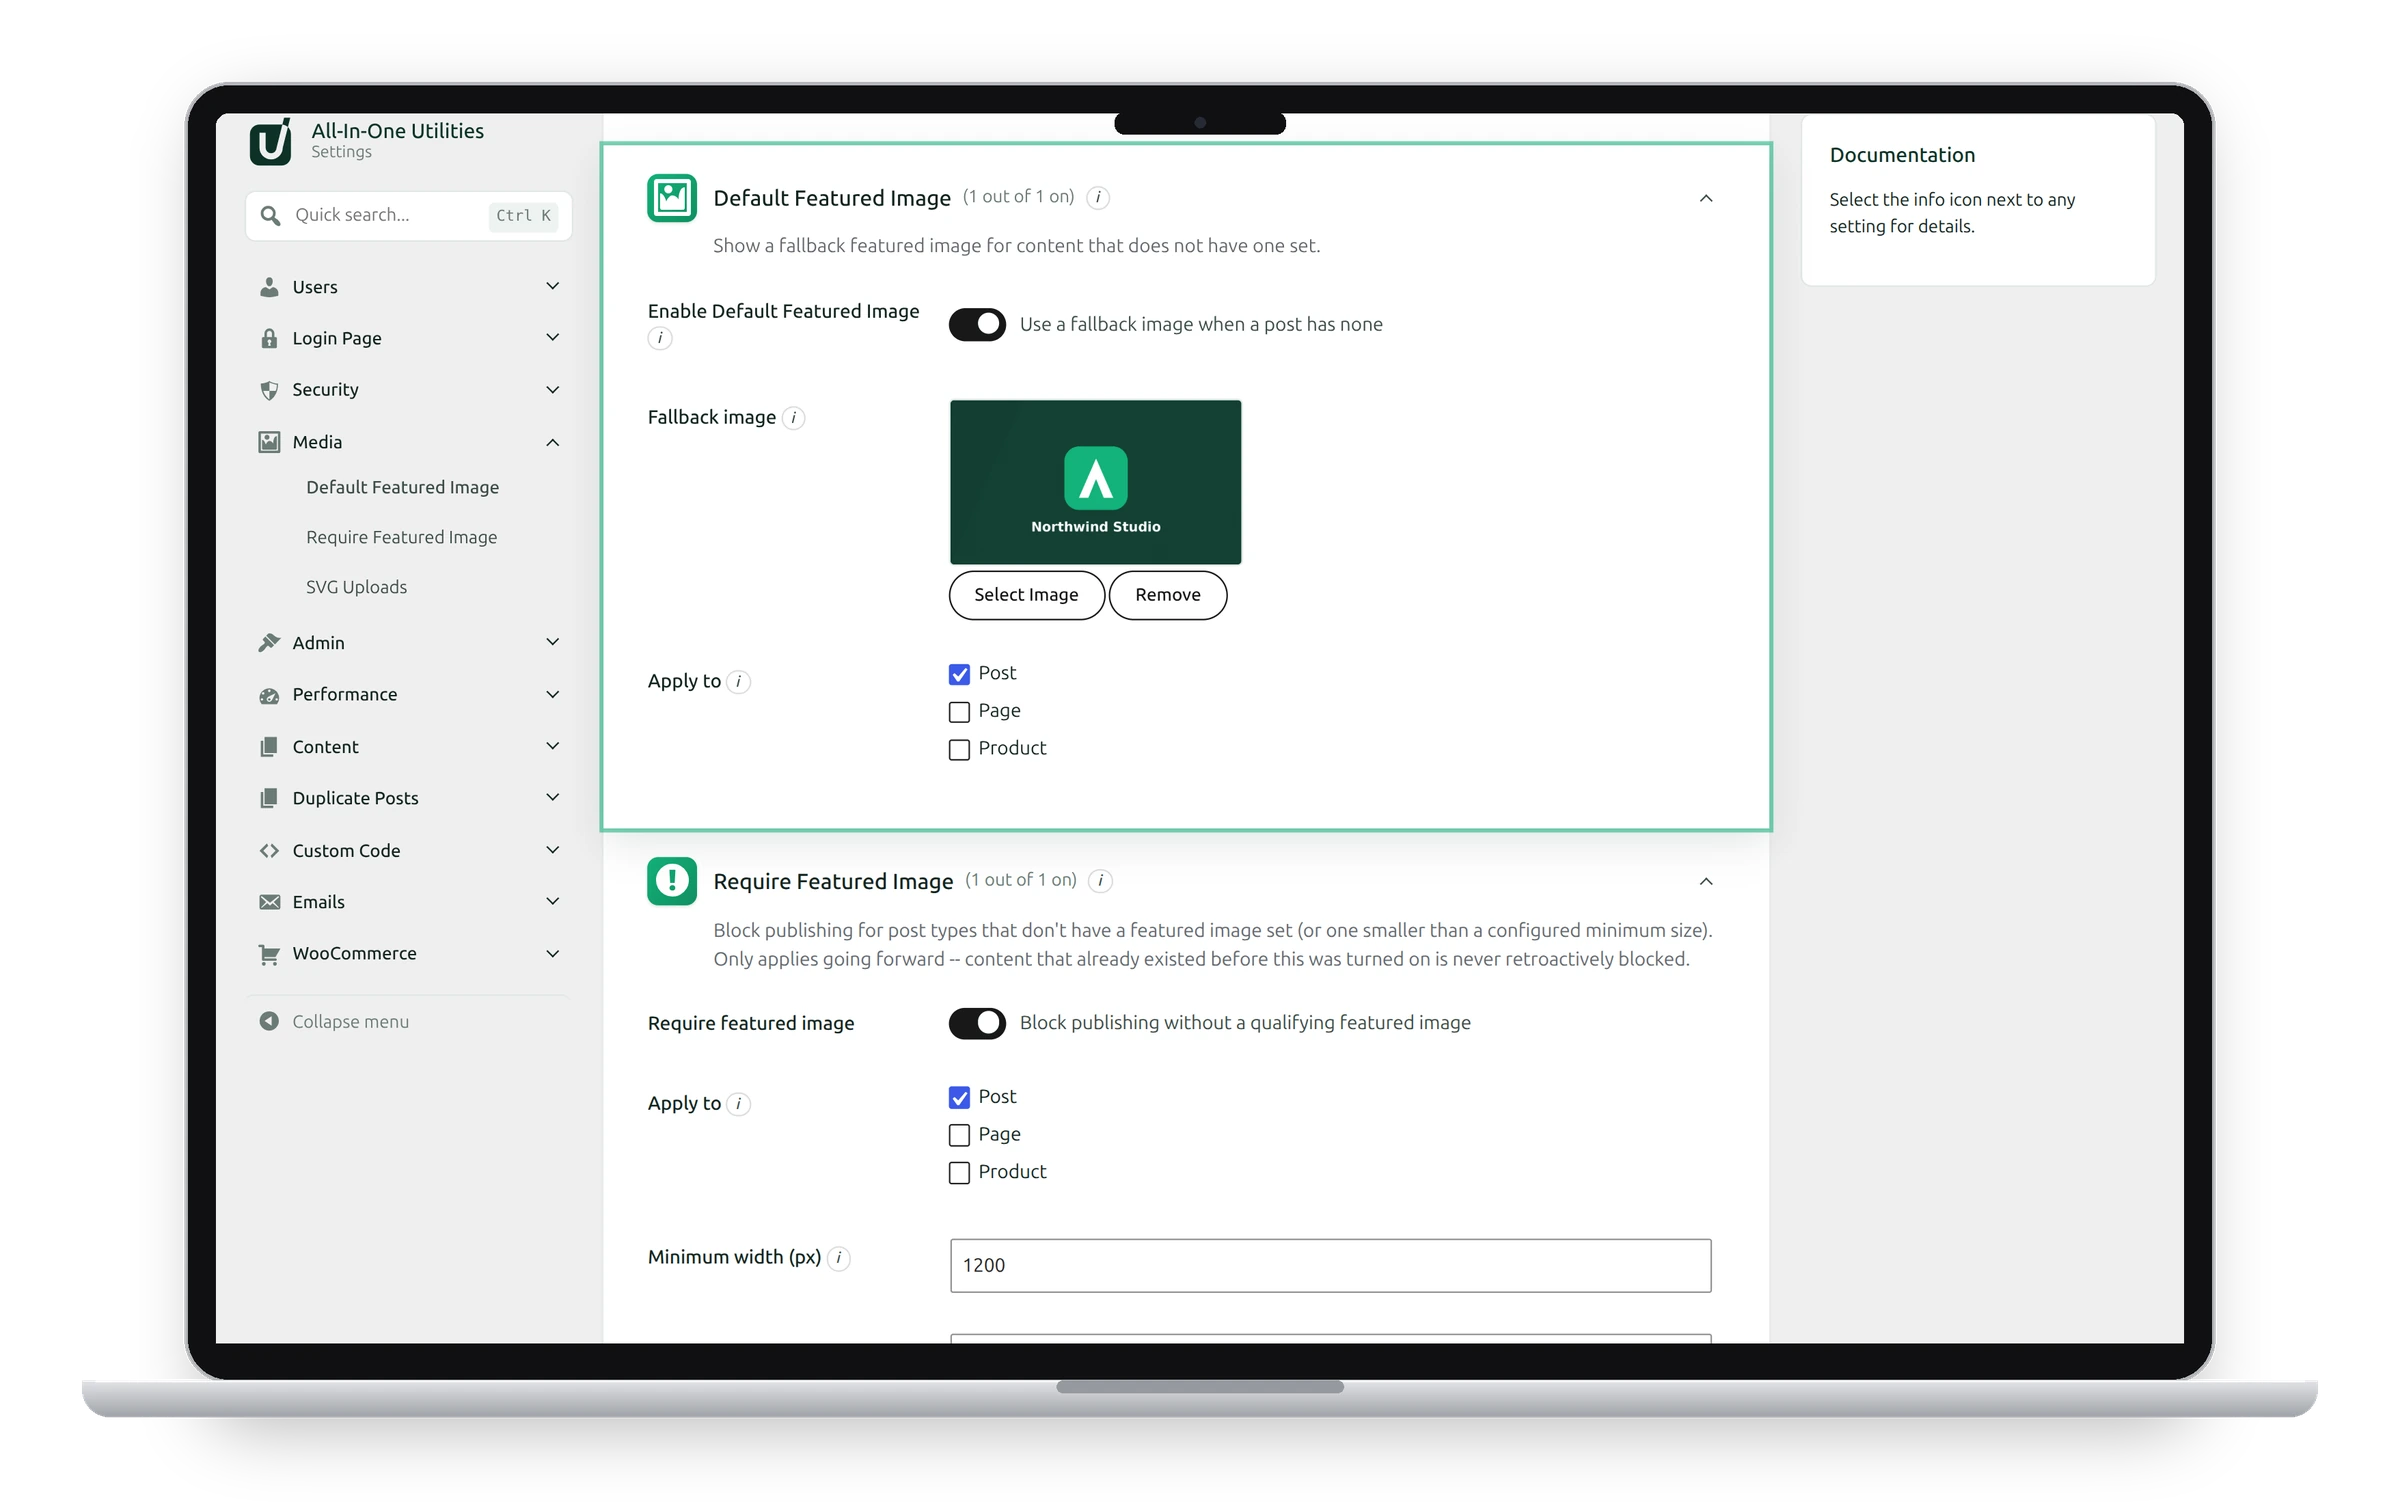
Settings
- Enable Default Featured Image: switches the fallback on.
- Fallback image: the image used for posts without one. Click Select Image to choose it from the Media Library.
- Apply to: the content types that get the fallback. Only types that support featured images are listed.
Set it up
- Switch on Enable Default Featured Image.
- Choose a Fallback image, such as your logo on a brand-colored background.
- Tick the content types under Apply to, for example Posts.
- Click Save changes.
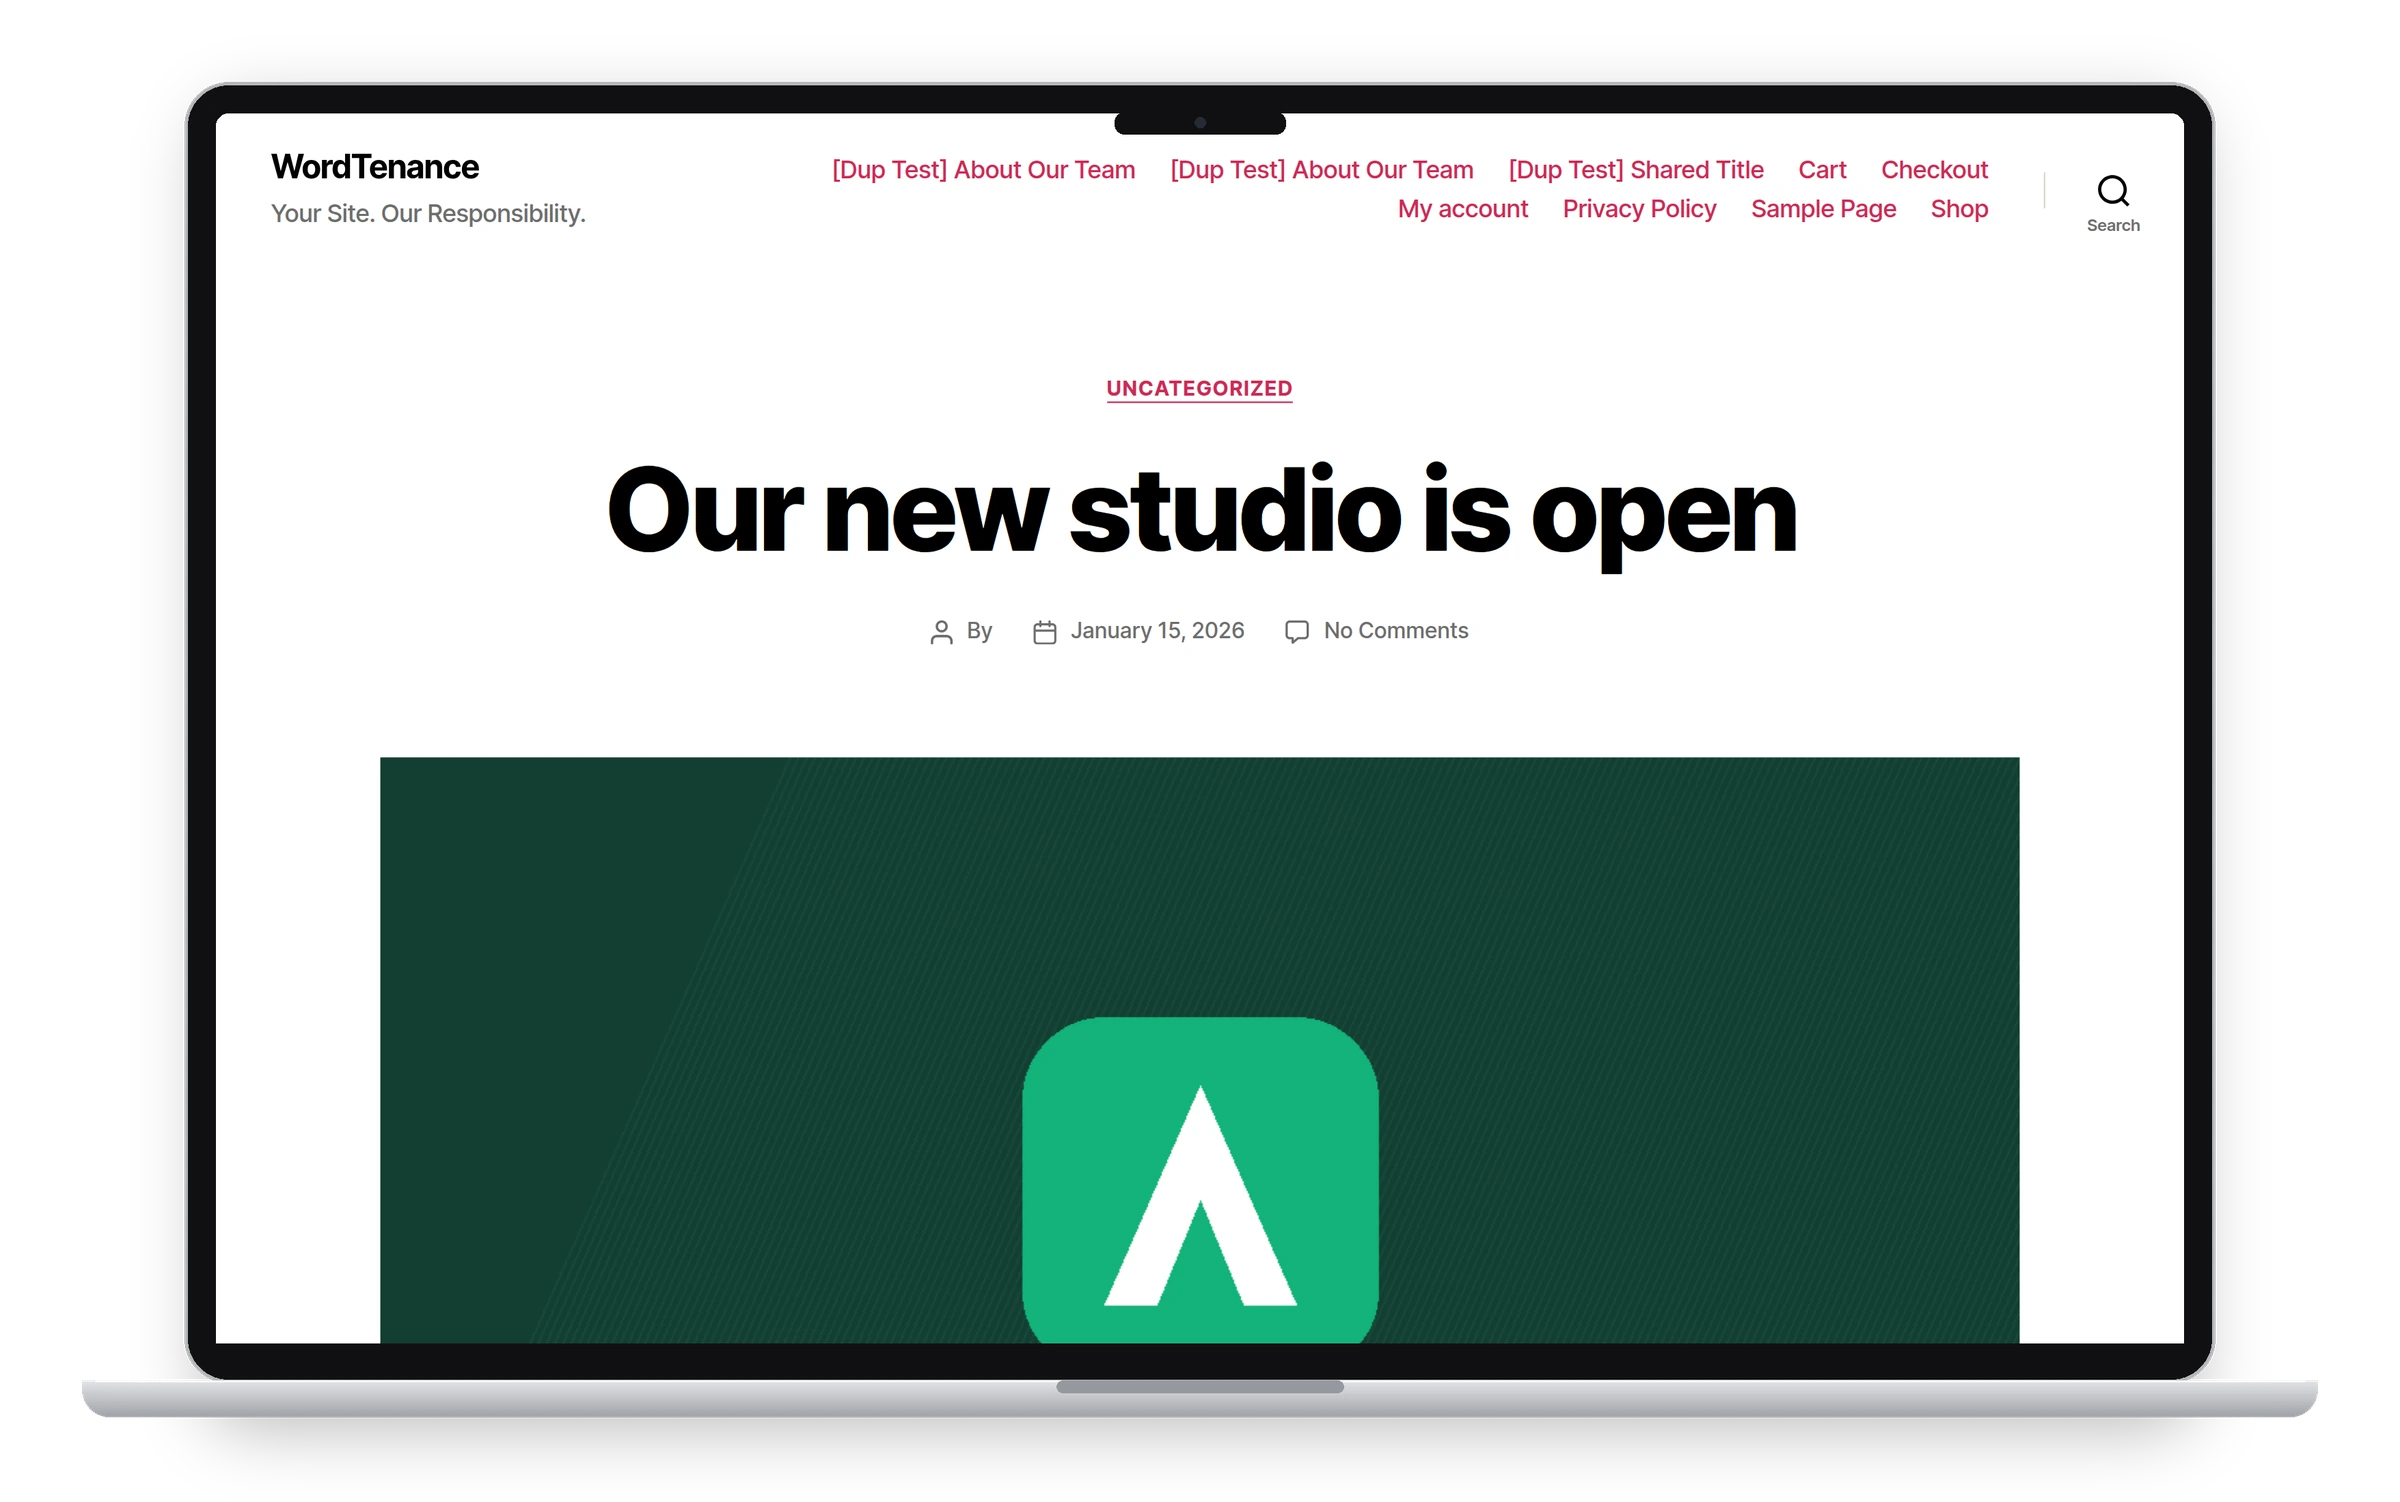
Your own images always win
The fallback never replaces a real featured image, and never saves anything to your posts. Remove it or switch the feature off, and those posts simply have no featured image again.
Choosing a good fallback
Use an image with the same shape your theme uses for featured images (often 16:9 or 3:2), large enough for its biggest display, such as 1200 × 675 pixels. Simple, branded images work better than photos, since the same image may appear many times on one page.
See also Require Featured Image and SVG Uploads.
Get the plugin: All-in-One Utilities is free, so you can add it to any site. Then, when you need more, its premium add-ons add extra features.